Presenting your web design work in a compelling way can make the difference between landing a client and losing their interest. A polished MacBook mockup transforms flat screenshots into professional presentations that showcase your designs in realistic contexts. Here’s how to create stunning website previews using Figma’s powerful design tools.
Why MacBook Mockups Elevate Your Design Presentations
Raw screenshots rarely do justice to your hard work. When you place your interface within a MacBook frame, you immediately add context and professionalism. MacBook mockups deliver powerful benefits:
- They help clients and stakeholders visualize how the website will look on actual hardware, making your pitch more tangible and persuasive
- They create instant credibility by presenting designs in a professional, polished format that commands attention
- They provide realistic context that transforms abstract interfaces into concrete, believable products
- They’ve become the industry standard for portfolio pieces, client proposals, and marketing materials across design agencies
This presentation approach bridges the gap between concept and reality.
Getting Started: Preparing Your Design Files
Before diving into mockup creation, organize your Figma workspace. Create a dedicated frame for your website design at standard desktop dimensions—typically 1440×900 pixels works well for MacBook screens. Ensure all elements are properly grouped and named. This organization becomes crucial when you start inserting designs into mockup templates.
Export your finalized design as a high-resolution PNG or keep it as a Figma frame that you can directly reference. Having clean, pixel-perfect designs ready ensures your mockup looks crisp and professional once assembled.
Finding Premium Quality Mockup Resources
Professional designers often turn to specialized platforms for their mockup needs. The ls.graphics website offers exceptional MacBook mockup collections featuring ultra-realistic rendering and organized layers that streamline your workflow. These premium resources include:
- Multiple viewing angles from straight-on to three-quarter perspectives
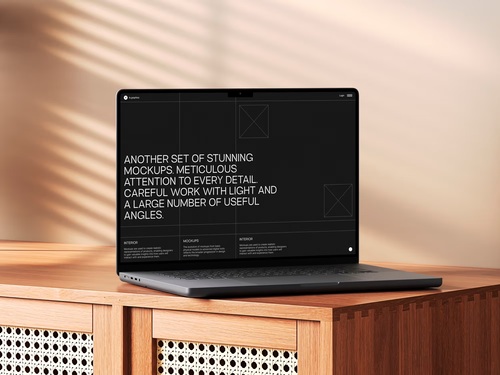
- Various color styles including Space Gray, Silver, and Midnight options
- Stylish minimalistic compositions with clean backgrounds
- Smart object layers that are very easy to use
The attention to detail in premium mockups—accurate shadows, realistic screen reflections, proper device proportions—creates presentations that look photographed rather than digitally composed.
Step-by-Step: Inserting Your Design
Once you’ve selected your mockup template, import it into Figma. Most high-quality templates come with clearly labeled layers. Look for the screen placeholder layer, typically marked as “Your Design Here” or similar. Select this layer and replace it with your website design frame.
Use Figma’s mask feature to ensure your design fits perfectly within the screen boundaries. Select both your design and the screen shape, then apply a mask using the keyboard shortcut Ctrl+Cmd+M (Mac) or Ctrl+Alt+M (Windows). Adjust the positioning until the design aligns naturally with the device’s screen area.
Real-World Application Examples
Consider a SaaS dashboard presentation. Place your interface in a MacBook Pro mockup positioned at a slight angle on a minimalist desk setup. The dimensional perspective adds depth while keeping focus on the screen content. For an e-commerce website, use a straight-on MacBook Air mockup with the product page displayed, perhaps accompanied by subtle environmental elements like a coffee cup.
Portfolio presentations shine when you showcase multiple pages. Create a composition with three MacBook mockups at different angles, each displaying a different section of your website—homepage, product page, and checkout flow. This triptych approach tells a complete story about the user journey.
Customizing for Brand Consistency
Adjust the mockup’s background to match your or your client’s brand colors. Premium templates with organized layers make this effortless—simply select the background layer and modify the fill. Add subtle gradients or keep it solid depending on your aesthetic preferences. Maintain adequate contrast between the device and background to ensure the design remains the focal point.
Conclusion
Creating realistic website previews with MacBook mockups in Figma transforms ordinary screenshots into portfolio-worthy presentations. By leveraging premium resources with ultra-realistic rendering and organized layers, you can produce professional mockups in minutes rather than hours. The combination of Figma’s flexible design tools and high-quality mockup templates empowers designers to present their work with the polish and professionalism it deserves. Start incorporating these techniques into your workflow, and watch your design presentations command greater attention and appreciation.


